

Care and Finish
Your Forever Redwood Shade Structure or Furniture can last for decades in year-round weather with minimal maintenance. You can expect your furniture or structure to last outdoors for at least 10-30 years, even in the harshest climates. The longevity of your Forever Redwood structure depends on the wood grade you select, along with the length of your included warranty. The secret to longevity for outdoor wood is to keep the wood supple: don't let it get too dry and brittle, or too wet when in contact with the ground.
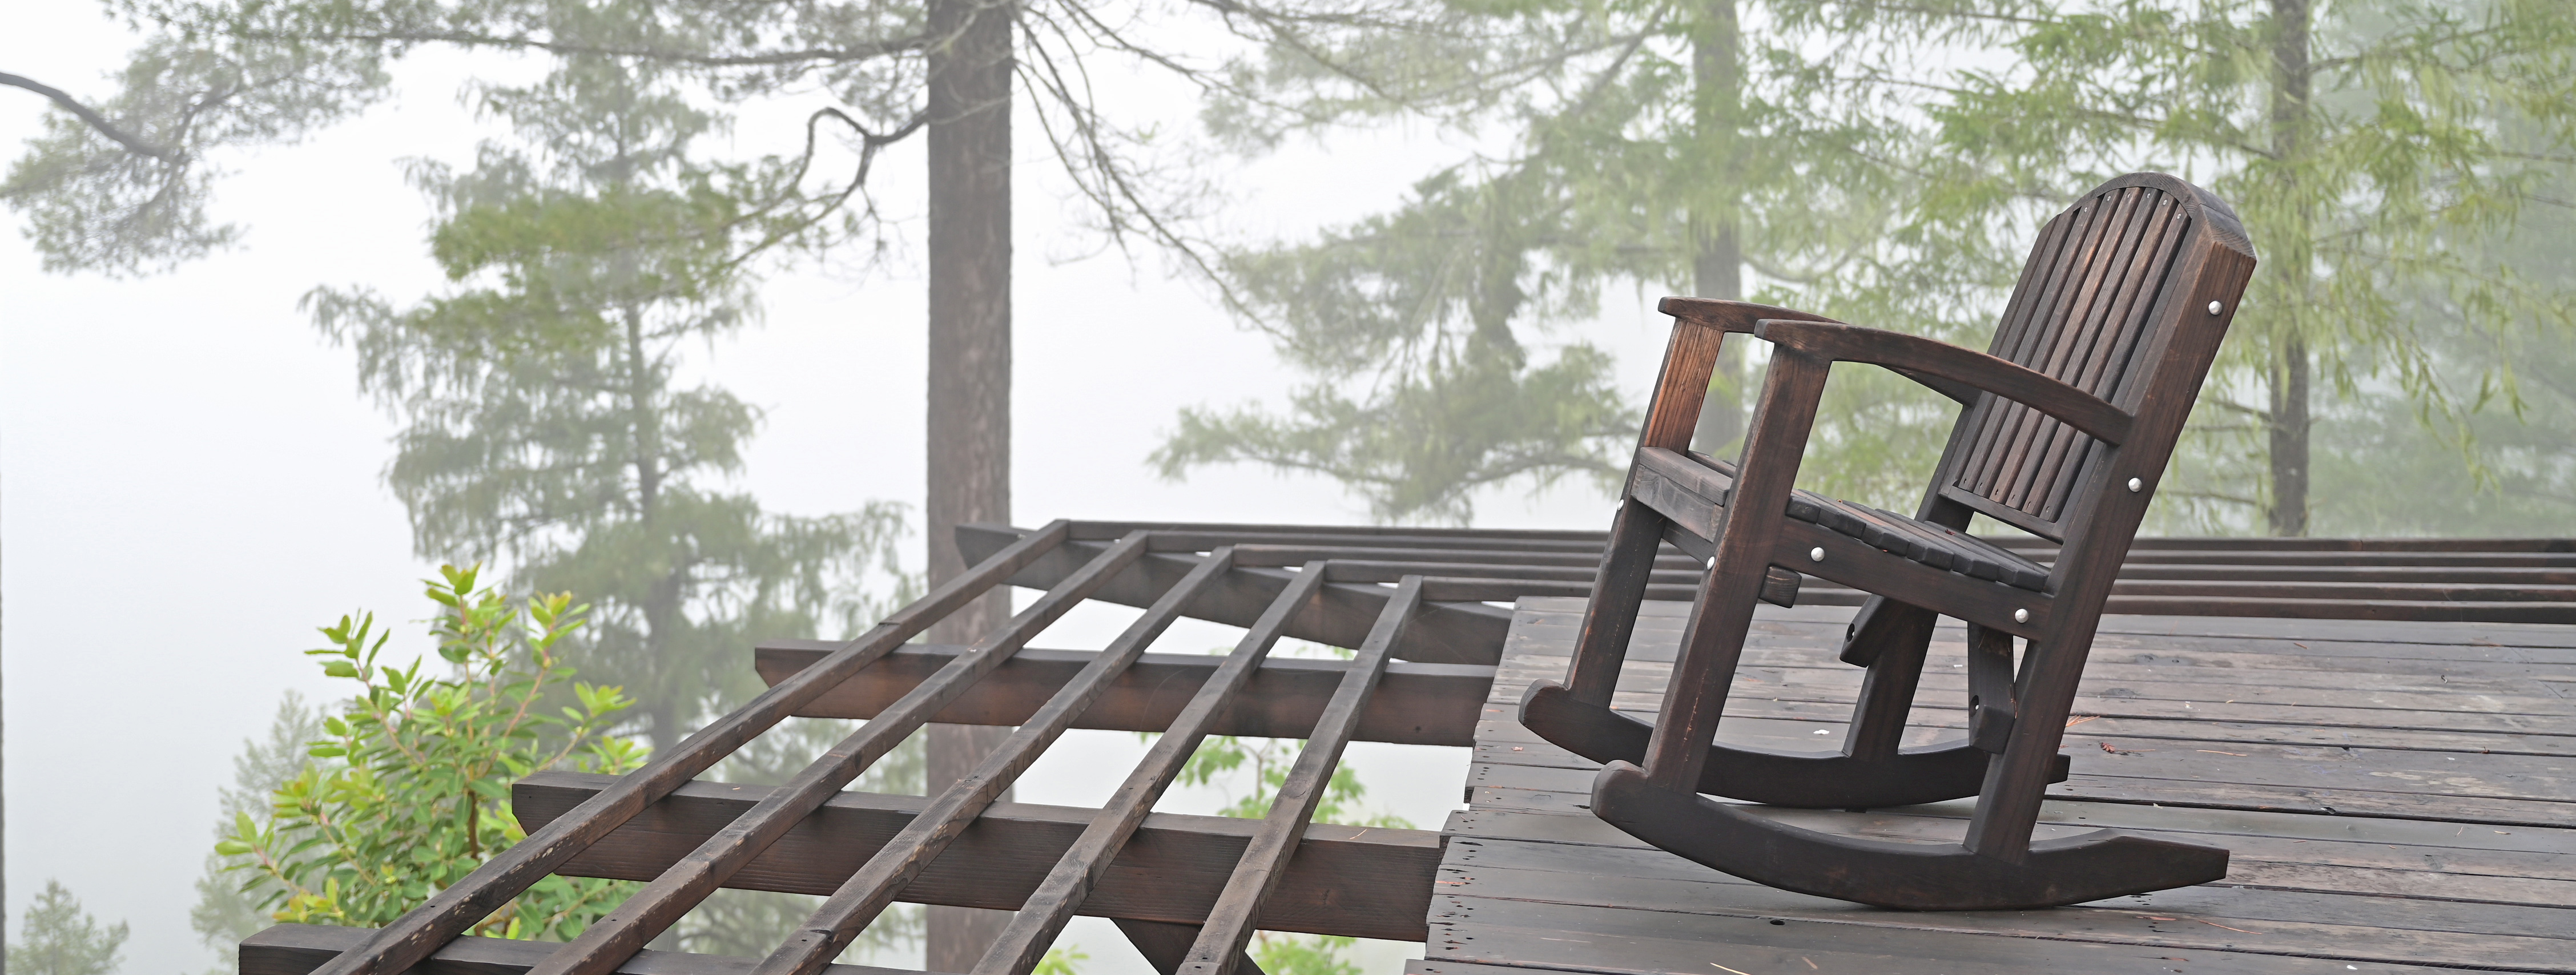
The photo shows a 15-year-old Luna Rocking Chair. This rocker was resealed (without sanding) only once 10 years after installation.
Being outside year-round is rough on any finished wood. Wood surfaces absorb UV rays and pollution while undergoing constant variations in moisture and temperature. Oxidization also occurs, and causes the surface color to slowly change towards a silver patina. With Forever Redwood, you don’t have to worry about needing to replace your furniture or structure after a few years: Redwood is the most decay resistant wood that grows in North America, and we use the best sealant on the market to protect the wood and keep the gorgeous natural tones from fading quickly.
Recommendations to keep your furniture looking great and lasting longer Although Forever Redwood pieces can be left out in year-round weather, we recommend that you follow a few simple steps to keep your set looking its best for decades. Occasional cleaning is always a good way to spruce things up. Hose & wipe down with a rag and a bucket of water. Use a soft brush followed by a wipe down with a rag for a deeper clean. You will be surprised at how much grime accumulates on your furniture or shade structure outdoors. Once you have wiped it clean, let it air out and then take a good look at the finish.
Note: Do not power wash your furniture or shade structure and do not use soap or chemicals.
The best way to tell if your furniture needs a new coat of sealant is to give your furniture or structure a good look over. There is no hard and fast timeline for when to re-seal. Rather, see for yourself if the wood looks tired and dry. If so, go ahead and add another coat of sealant.
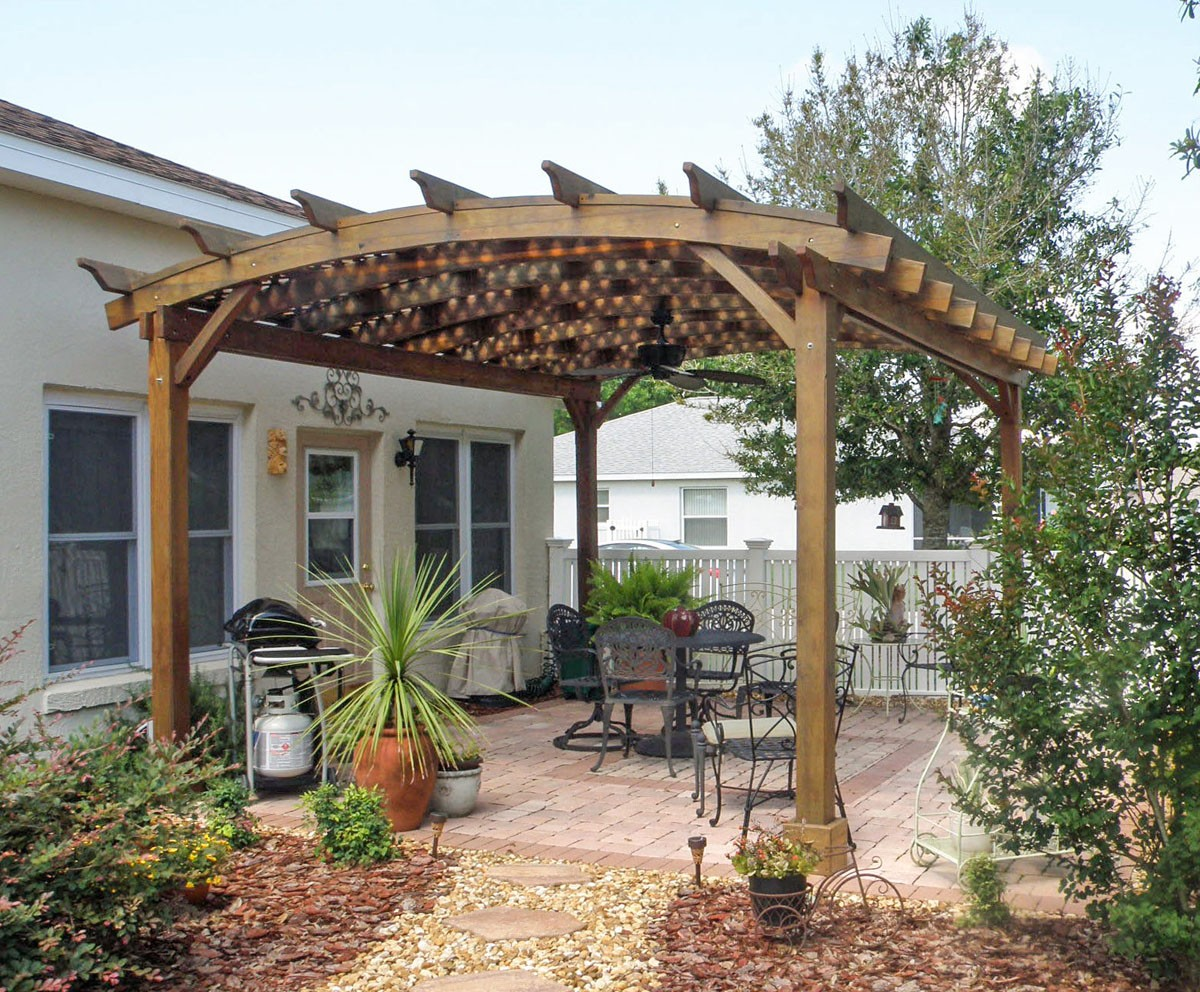
How to Re-Seal your Forever Redwood piece: For covered pavilions and gazebos, reseal only the exterior or the posts that are near the roof’s edge. The rest of the structure is more protected and needs little resealing. For tables and benches just seal the exposed surfaces.
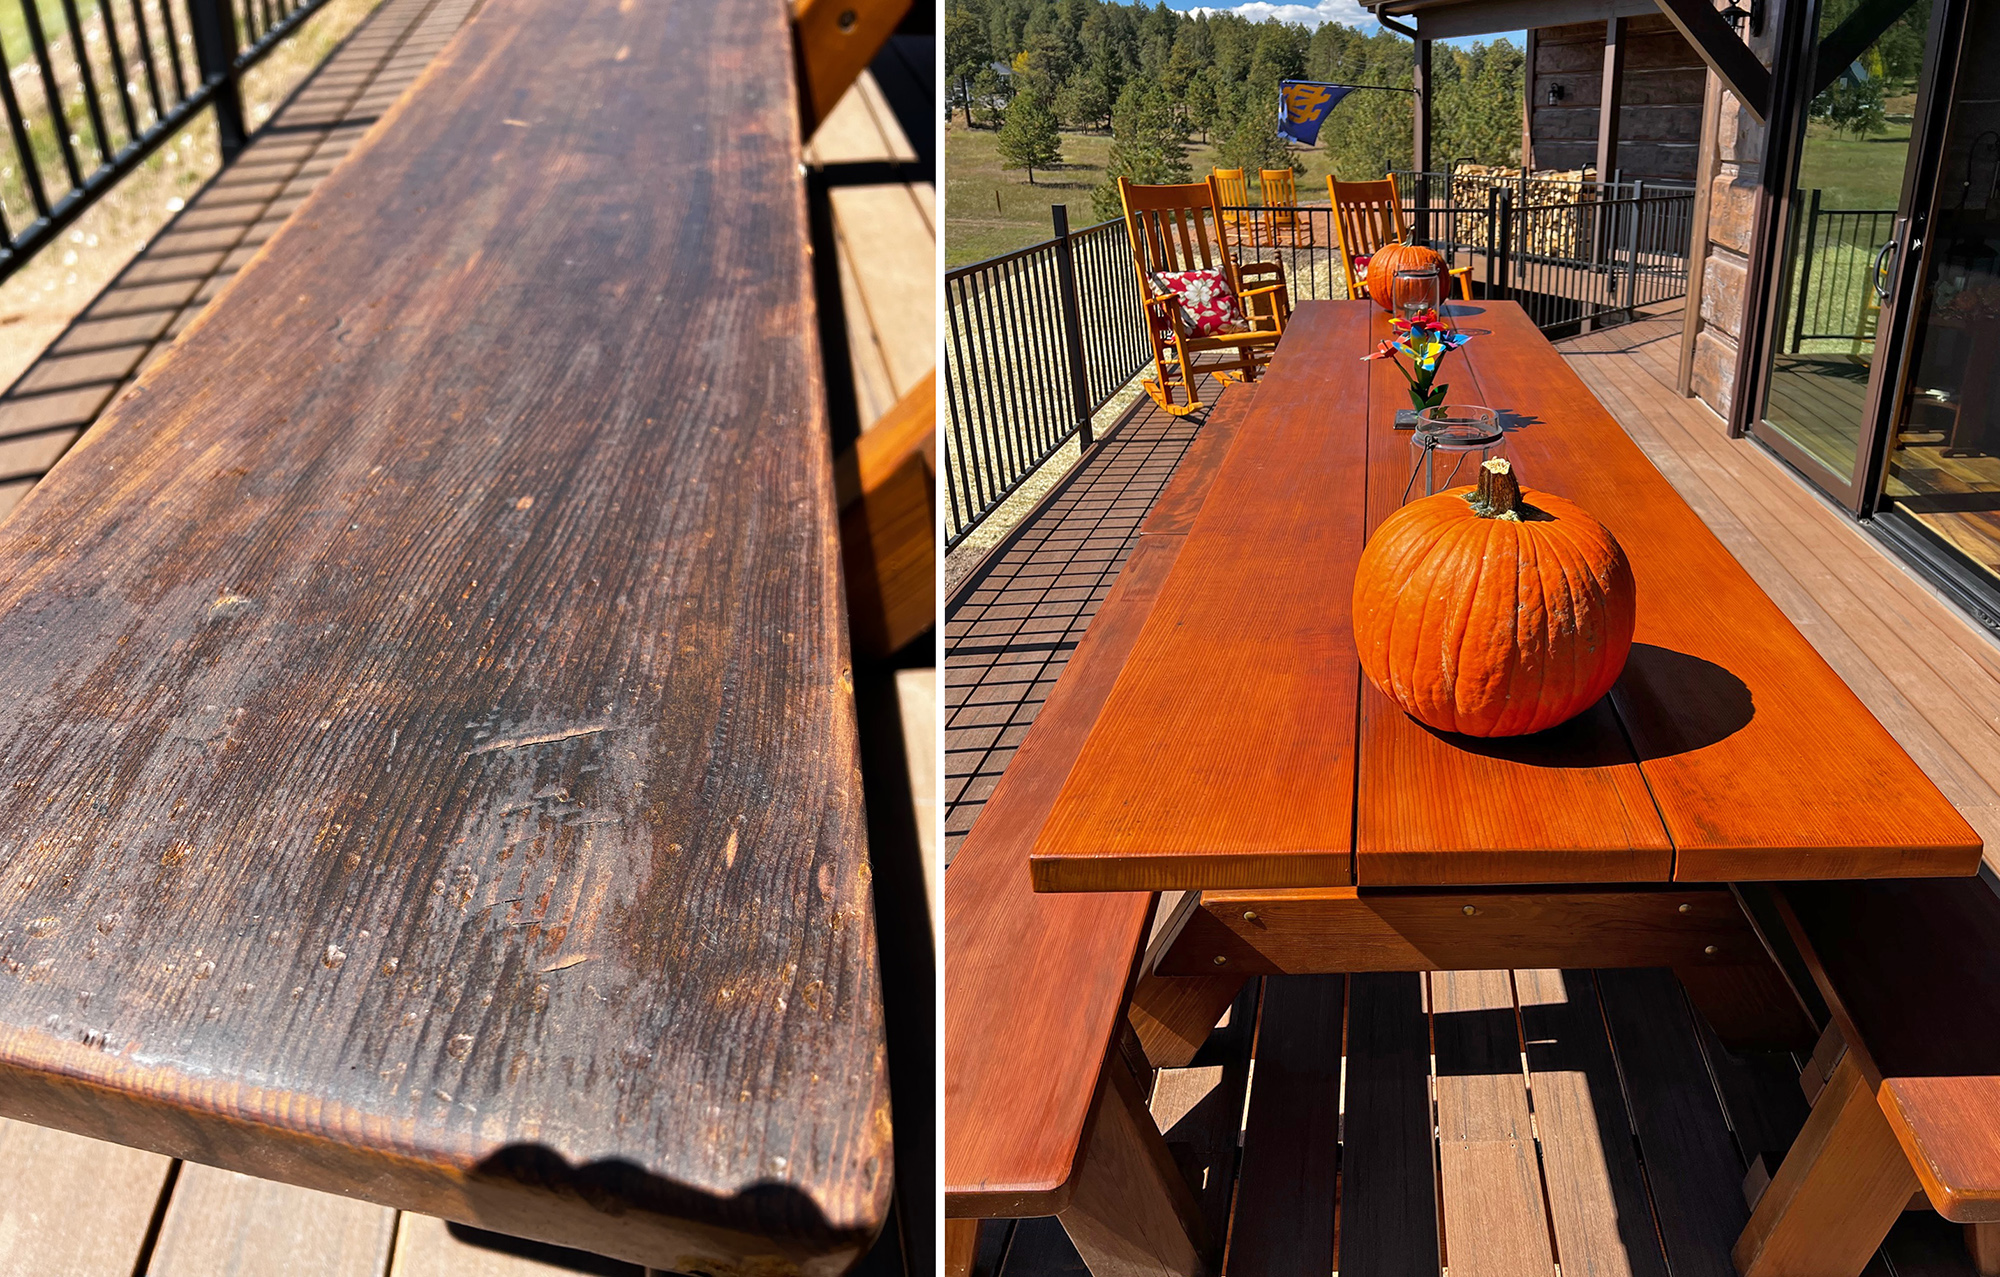
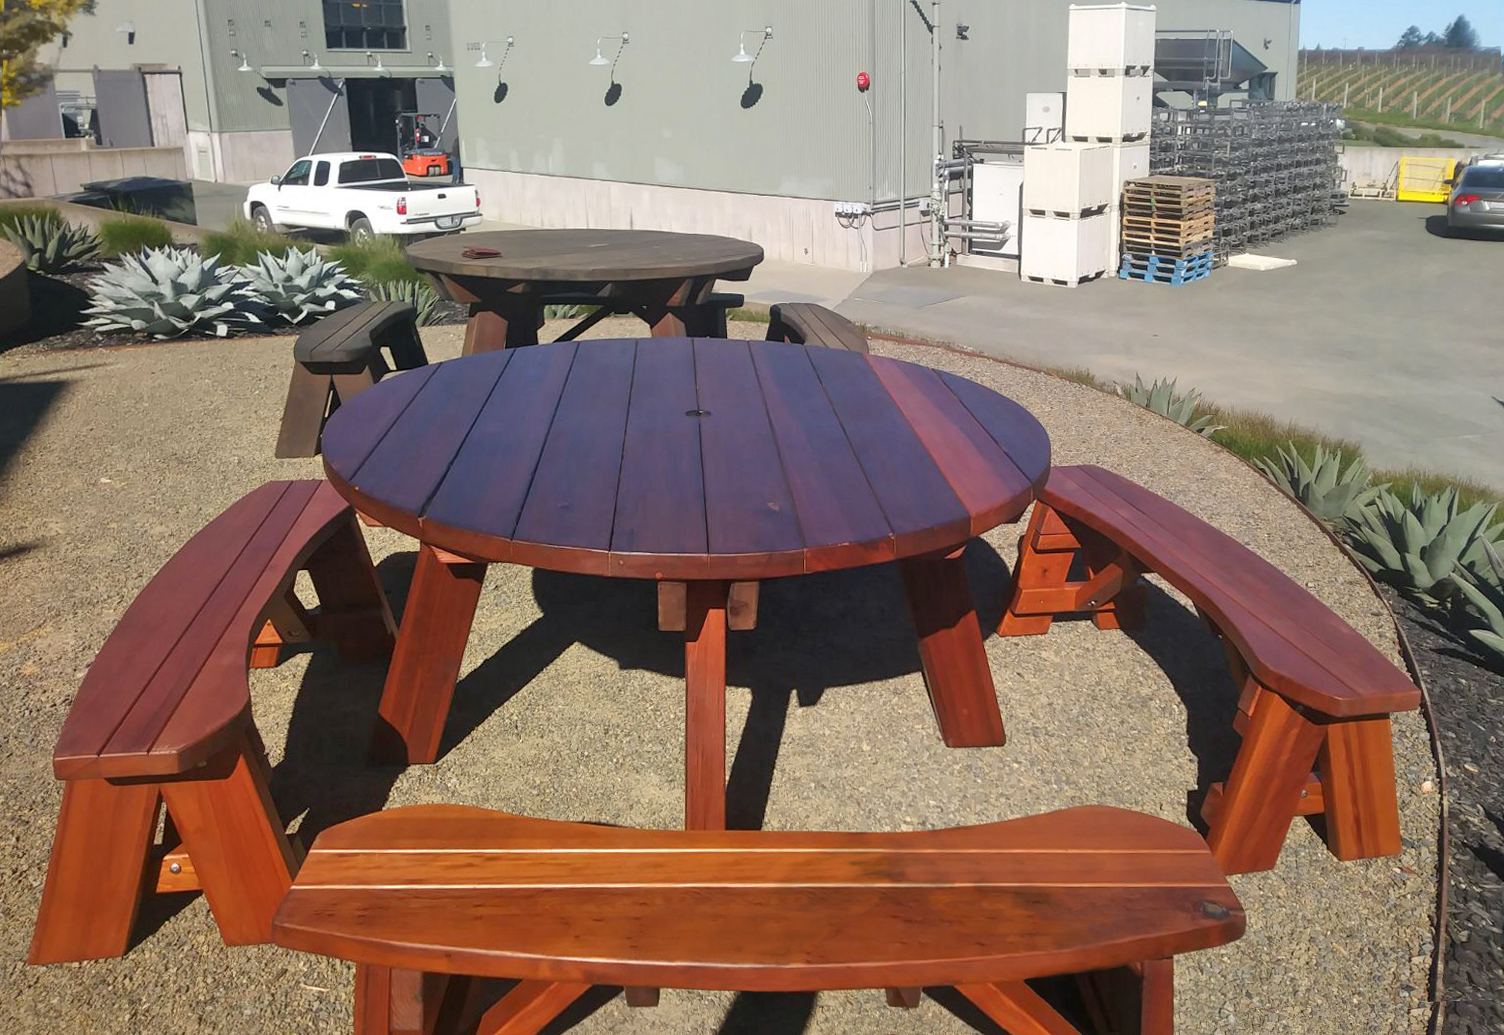
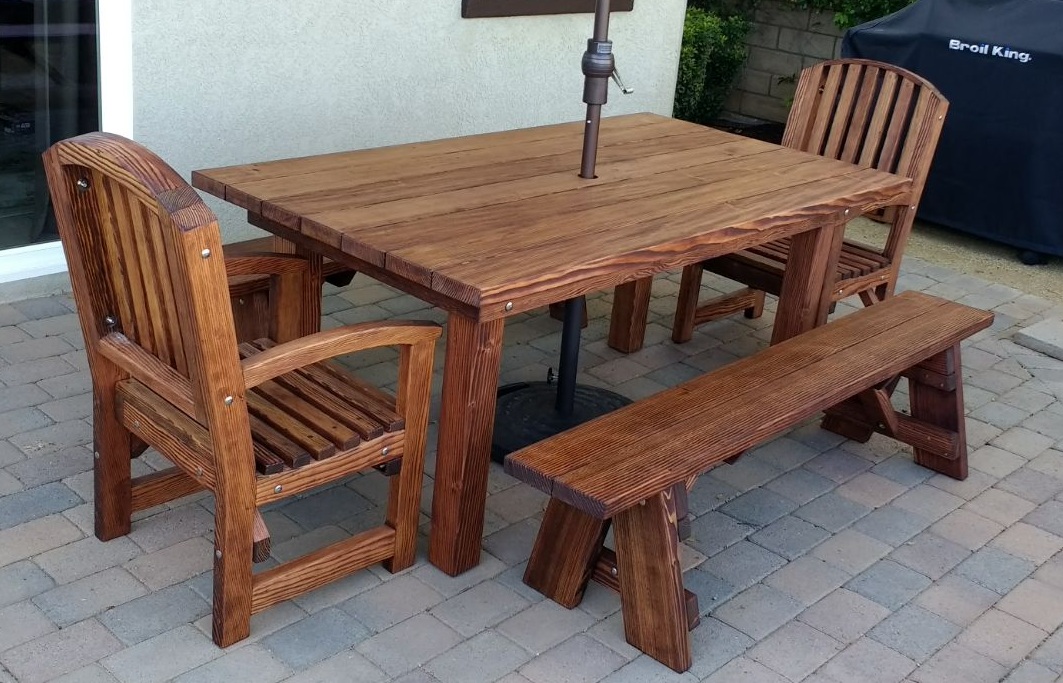
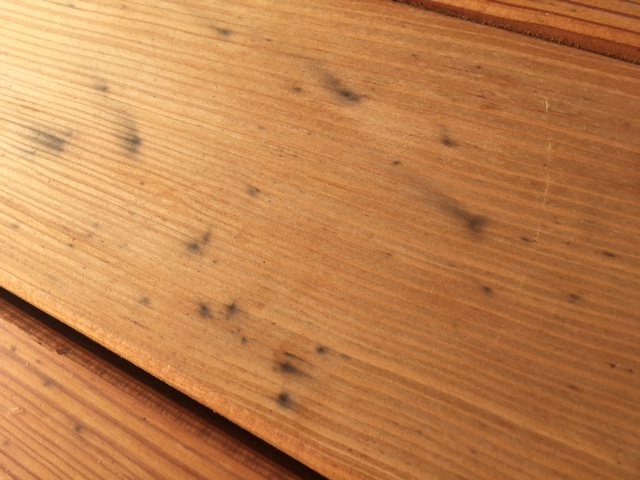
Heritage Picnic Table before and after sanded and resealed. This table was 10 years old when a strong hail storm hit it (note the many dimples in the wood).
Your order comes with a 4 oz bottle of sealant as part of your touch up kit. This should be enough for most furniture items. The rag used to apply the finish is an extreme fire hazard: it should always be burned and never stored.
If you are planning to reseal your furniture every few years to keep it supple and looking its best, we recommend using the Sikkens Proluxe Cetol Log and Siding Stain but instead of the 072 Butternut, use the 078 Natural. The Natural will keep the old color better because it is almost completely transparent versus using the 072 Butternut that will darken your finish some each time.
A few more pointers to consider: We recommend re-sealing your furniture or structure rather than painting it. Painting outdoor wood actually lowers its longevity! Eventually the paint seal breaks and the wood gets overly moist from rain. The paint actually keeps the wood wet longer and multiplies microbial action. When considering longevity as the most important factor, outdoor wood does better sealed rather than painted.
Does your furniture creak when you sit on it? If so, it may have lost a bit more additional moisture because of the new environment it now lives in. Check the nuts & bolts. You may find a couple need tightening. Don’t over do it – just go till you have resistance and then add a quarter turn and stop. If this happens at all, it is almost always within the first year as the wood acclimates to its new home.
Worried about Termites? If you are in a termite area, keep in mind that Termites look for dry wood, and re-sealing your outdoor furniture or structure every couple years keeps the surface supple and oiled and it is the most effective method to prevent decay of all kinds while keeping the wood surface looking its best. If you are resealing after many years and your finish is dry, you may want to lightly sand the most visible areas and then resealing. If it is still looking dull, give it a day and then add a second coat of sealant. The second coat is applied much faster and this should result in a darker finish with a lovely, deep satin look.
If you are in an area where termites are a large issue, you can double up your protection by having us mix Bug Juice Insecticide by TWP with our recommended sealant. You can purchase it online at: TWPSTAIN.COM - Bug Juice Insecticide for Deck Stains
This can add years of protection. You can ask us to add this product to your initial order or you can mix it in with our recommended sealant if you are resealing years later.
Re-sanding: If you prefer to make the finish look like it did when first purchased, you can sand down the item and start afresh. All Forever Redwood furniture is substantially oversized. You can sand it without losing hardly any of the timbers' massive girth. You don't have to sand every nook and cranny to get great results, just do the most visible surfaces.
Use a 100 grit paper to go over the areas quickly and then follow up with 220 grit paper to remove the sanding lines and leave the surface finely sanded. You can sand by hand or with an orbital or vibrating sander. Redwood and Douglas-Fir sands easily. Once finished, dust off and add sealant. We apply 2 coats in the shop and do so on warm dry days allowing 6 hours minimum between coats. Sealing adds oils back into the wood and leaves your set looking spectacular. When finished, burn the rag carefully (you do not want to store it because it will be at risk of self-combustion).
For best results, we use only the Sikkens brand of sealants. For the exact sealants we use for each wood grade, please see Finish Options section.
More about Oxidization and the fade to Silver: If you do allow your set's finish to eventually fade, the silver patina is only surface deep (less than 1/64") and is not indicative of decay. Your set is not compromised by surface color changes. We are often asked how the surface color will change if the wood is not refinished and allowed to gray, so we prepped this 4 minute video to show you how any piece of Forever Redwood furniture left outside for years can be turned back into a brand new piece in a couple hours:
How to get rid of Carpenter Bees:
FINISH CHANGES OVER TIME - PHOTO GALLERY:
Below are a couple photos sent by customers of their items after being out years without maintenance:
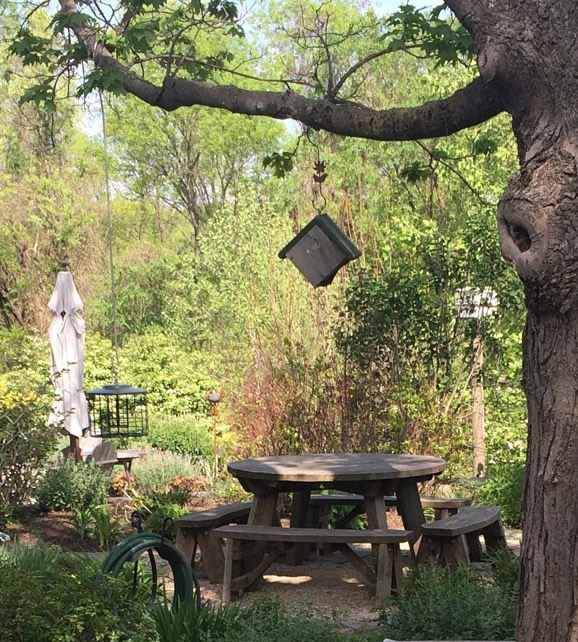
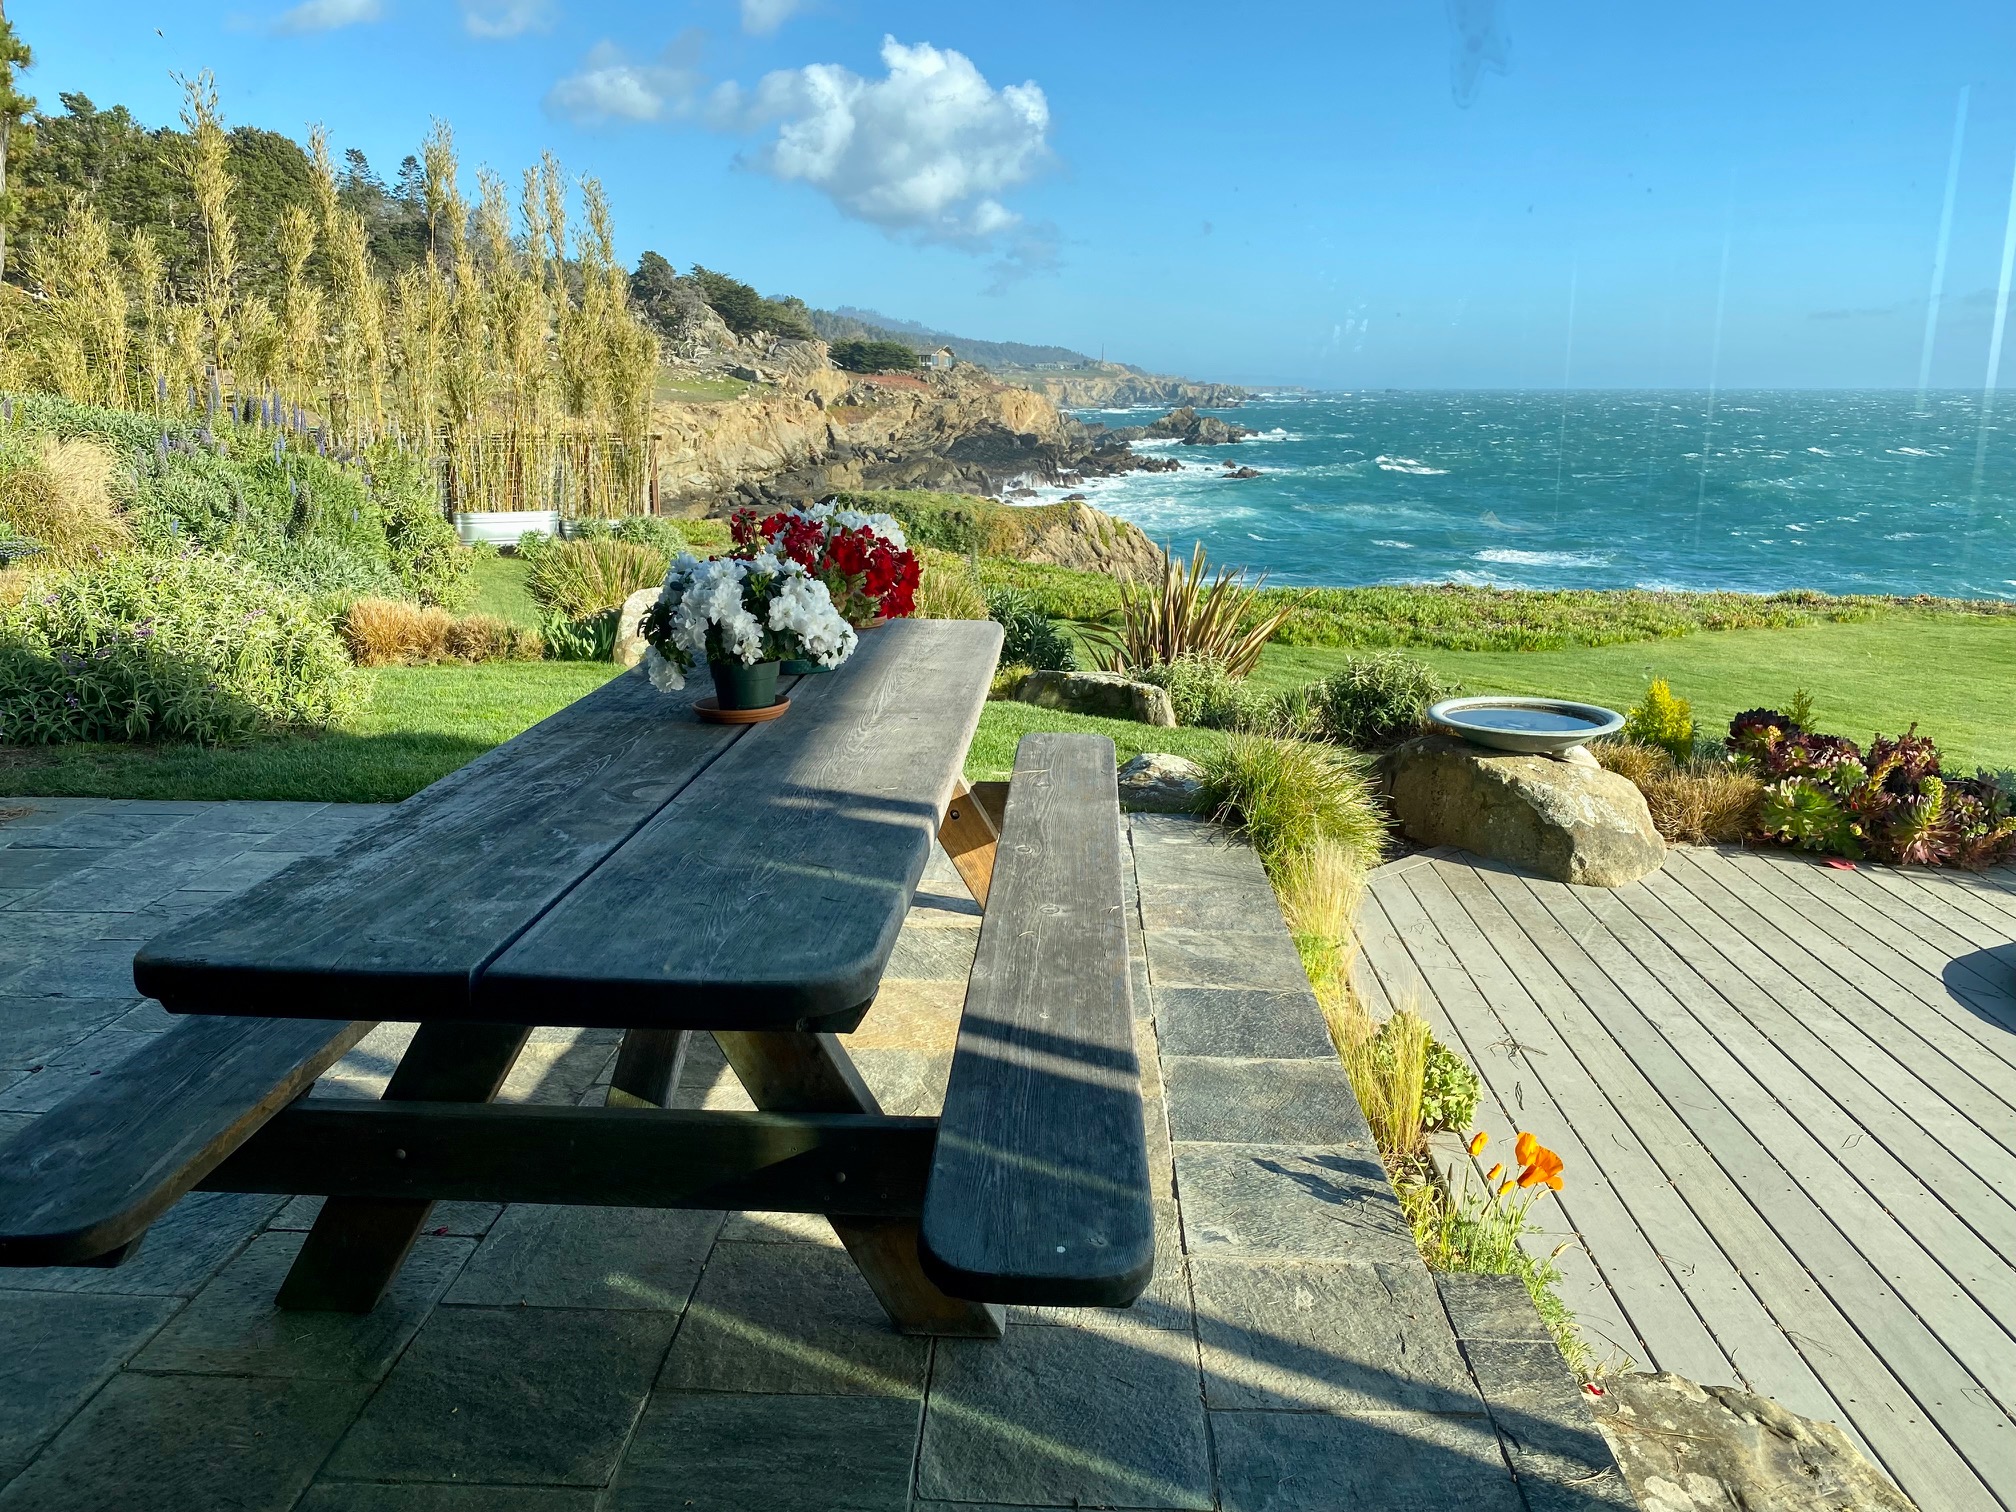 In 2002, Grace purchased one of our very first tables.
Here is a photo of the table at its ocean front home 20 years after it was first installed!
In 2002, Grace purchased one of our very first tables.
Here is a photo of the table at its ocean front home 20 years after it was first installed!
FINISH AND SEALING OPTIONS:
Unfinished:
Order your furniture unfinished if you prefer the surface color to change to a silvered finish in a few months or if you need an exact stain match. We will ship it with the natural wood polished to a "fine to the touch" 220 grit finish. If you need an exact stain match, it is best done on your end to avoid mistakes. Most hardware stores can create custom stains. Just take a sample of what you’d like and they can mix a custom stain for you quickly. When you order, just ask us to send a couple samples and we'll get them right out to you.
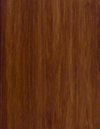
Transparent Premium Sealant - Our recommended finish for most outdoor applications.
For all our wood grades, we use what we believe to be the best wood outdoor sealant on the market. After years of experimentation, we found it to give all of our wood grades the best finish available on the market. It is a penetrating oil finish that applied correctly should give you a 2 to 3 year finish in most year round weather. After thorough fine sanding, we apply a total of 2 coats of the Sikkens Proluxe Cetol Log and Siding Stain. We use the 072 Butternut semi-transparent finish for all wood grades. For optimal results, we hand-rub the 2 coats, allowing at least 6 hours to dry and cure between coats.
We also offer the Transparent Premium Sealant with the following stains. There is a small charge for adding these stains because it increases the total amount of coats to 4 with the sealant as the final coats:
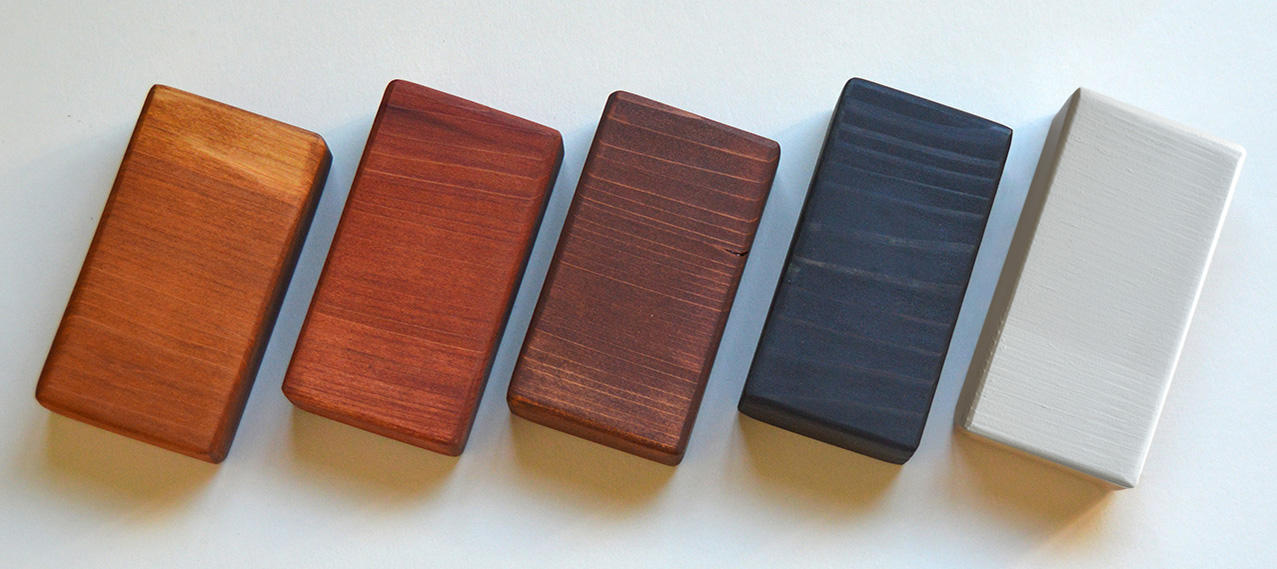
*The stain on this picture was applied to California Redwood samples
| Transparent | Cherry Stain | Coffee Stain | Black Premium Stain | White Premium Stain |
|---|
COLOR STAIN
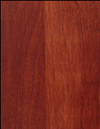
TIGER STRIPE EFFECT:
Douglas-Fir when stained dark creates a "tiger stripe" effect as shown in this photo. It is beautiful and most customers love it. If you are looking for a dark consistent stain and do not want to see a “tiger stripe effect,” please go with any of the Redwood grades for a more consistent stain finish.
PRIMERS AND PAINTS:
Off-White Oil-Based Primer: For if you are painting a light color. We apply two coats so that it is ready for one final coat.
Gray Oil-Based Primer: Use if you are painting a darker color. We apply two coats so that it is ready for the final coat.
STAIN ISSUES:
AVOID HARDSCAPE STAINING: If you are pouring a new concrete pad or doing hardscape work that will have surface visible masonry, you MUST seal the surface completely if you are adding a Redwood shade structure or furniture atop it. Redwood is rich in tannins. The tannins are what protect Redwood long-term from insects and decay. Despite the finish applied to the Redwood, when it rains or soaked by sprinklers, it will slowly leach tannins that will puddle atop the new hardscape. The tannins are clear in color but they react with the curing concrete or grout masonry and may create stains that are difficult to remove. Any exposed masonry or concrete that is less than a year old will react with the tannins and can add a dark stain. To avoid this, please BE SURE to properly seal your concrete or masonry hardscape to ensure this is a non-issue prior to assembly of our Redwood product. Forever Redwood cannot be responsible for these staining issues and this is why it is added to each invoice to make sure it is avoided.
Tannin stains can be cleaned off the hardscape with a diluted bleach solution. To make sure it never happens again, it is best to also buy a 4 oz packet of Oxalic Acid and mix it in a gallon of water. You can pick it up online for under $20. Wear protective gear: you don't want to get this on your skin or face. Spray it over all the surfaces with a handheld pump sprayer and leave it on for 20 minutes. Then hose it off completely. Do not leave it on or it will bleach the finish.
MOLD ISSUES:
DOES YOUR FURNITURE OR SHADE STRUCTURE HAVE MOISTURE CHECKS?:
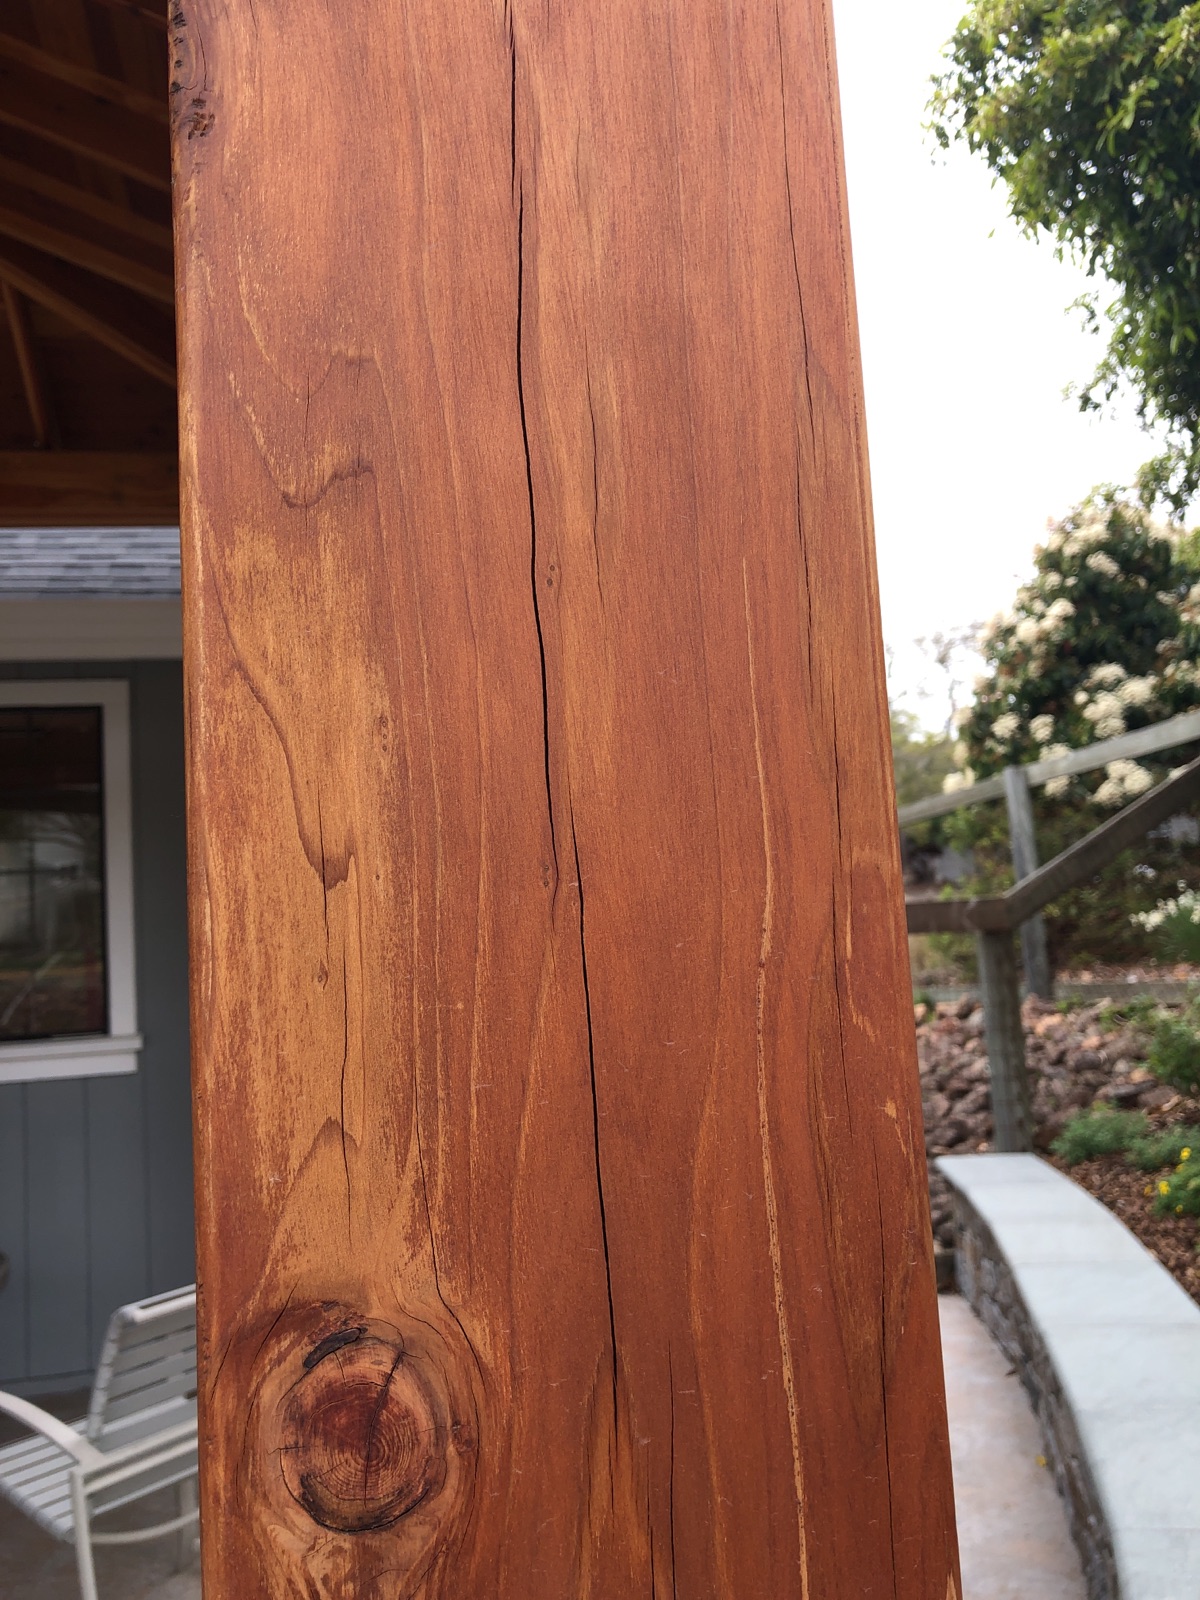
Because of their girth, big 8x8 and 10x10 timbers are hard to fully dry to 12%. They can be dry on the surface while the inside takes years. Sometimes as they fully dry, checking occurs like in the photo above. Checking occurs as the moisture leaves and is nothing to worry about: this is not a structural issue. It normally takes up to a year after installation for the larger timbers to dry fully. If your structure develops a couple of checks like this just, please send us a couple of photos so that we can see what's going on and offer some solutions. For structures that have been out a long time and have never been resealed, a good washing and resealing goes a long way.
In the section below, you can find easy to follow instructions to make the surface checks disappear. In most cases, they disappear completely. If you don't want to tackle it yourself, we can give you a quote for our team to come and refinish your order.
SMALL CHECKS AND CRACKS:
Ignore, fix, or replace? Redwood is ideal for outdoor furniture and structures. It will sit out in the year round weather for decades and remain structurally sound. But, like the old picnic tables in parks, wood furniture in year-round unprotected weather may eventually develop a surface and/or end check from the expansion and contraction caused by constant changes in temperature and moisture. You can minimize this from happening by resealing and refinishing your furniture every few years to keep the surface of the wood looking beautiful and oiled, keeping it from getting dried out and get brittle.
If your redwood furniture develops a check or crack, it does not compromise the integrity or longevity of the furniture.
In the instance that minor checks (light cracks that do not go through the entire width of the board) do develop, there is an old carpenter's trick to hide most or all of it:
- Sand the rough edges of the checks so that the surface is smooth and flat again. Use 80 or 100 grit paper to sand down quickly and then go over it with finer 150 to 220 grit paper to get rid of the sanding line. Do not dust off. Instead, collect the sawdust into a small container (paper cup will do).
- Once you have sanded so that each check edge is smooth, mix a couple tablespoons of a good quality wood glue with the sawdust (we like TiteBond3 - less than $5 for the smallest containers). Saturate the paste with as much sawdust as it will hold. Your fingers will get a bit sticky.
- With the edge of a putty knife or any hard edge, push the paste into the checks as deeply as you can. Do it a few times to make sure that each one is filled. Wipe away the excess and push the paste back into the checks until you have filled all the checks as completely as possible. Again, wipe off the excess. Leave to dry for a couple of hours.
- Return to sand the area with the 220 grit paper. Dust off.
- If any of the checks did not fill in completely, repeat step 3 and 4 for those areas.
- Once the checks are filled and sanded, rub some sealant into the sanded areas. Over the course of few minutes, go over the area a few times to allow as much to absorb as possible. Let the furniture or structure rest for a couple hours before adding another coat. This area will be lighter in color than the rest of the piece, but the checks will mostly disappear and the surface will be smooth and level again. In a few months, the color difference will fade. Sealant left on a rag is a huge fire hazard, and it is best to carefully burn the used rag.
- If you want your entire piece to immediately match in color, then please revisit the section above titled "Finish and Where to get Sealant Online".
If your old set has developed a significant check (wood has split thru completely), you can do one of 4 things:
- This is a rare occurrence, and in most cases requires no attention at all for longevity’s sake. Generally, we recommend doing nothing and choosing to consider it a sign of "character."
- If your crack has a rough edge, follow the protocol laid out above by taking a few minutes to sand it smooth. If you want the sanded area to match the rest of the furniture, see the section above titled "Finish and Where to get Sealant Online".
- If the crack is significant or unattractive, you can send us a photo so we can make a replacement piece for you at minimal cost.
- If you’re a handy person and want to dabble in making the crack "disappear," you can either talk with your local hardware person for a product recommendation specific to your climate, or you can use a two-part epoxy (or five minute or high strength epoxy) available at most hardware stores. You’ll need some masking tape and acetone (or nail polish remover that contains acetone). Clean around the crack and mask off the wood out two inches around the crack. Make sure the masking tape is right up on the edges of the crack. Place masking tape underneath the crack to keep the epoxy from falling out the bottom or back side. Mix the epoxy and fill the crack, rubbing it in with your fingers diagonally. BEFORE it has completely cured, remove the masking tape. Remove excess with acetone before it cures. Clean the epoxy off of your fingers before it cures. Epoxy dries transparent and will last for many years.
TOUCH UP KIT INCLUDED WITH EACH ORDER:
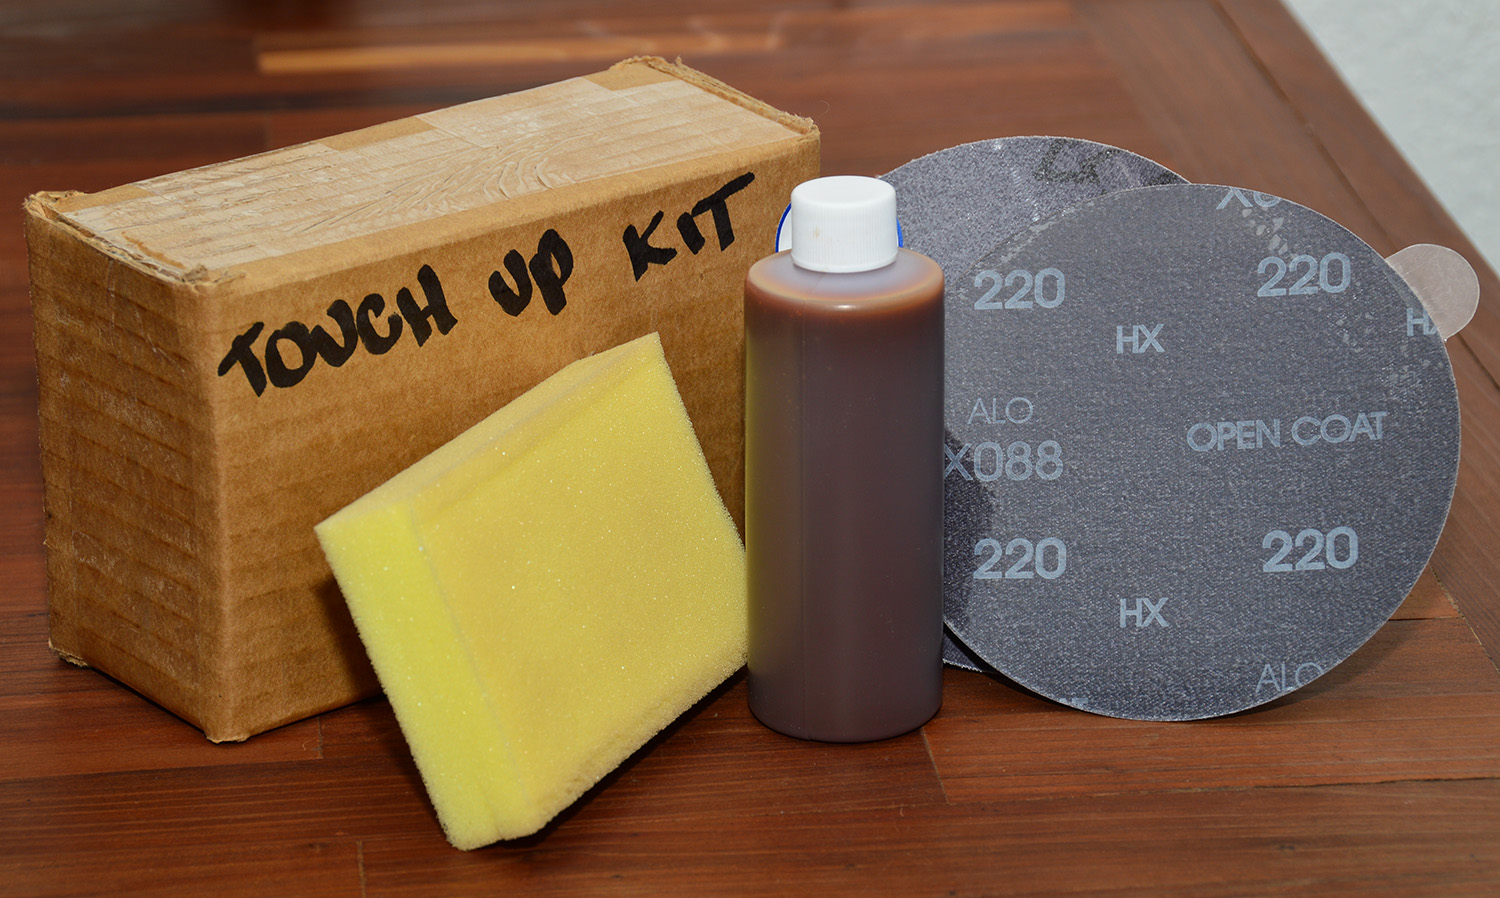
We include a touch up kit in each shipment! This will come in handy in the unlikely event that your set arrives with a scratch, or if at some point you add a scratch or two. This included kit allows you to eliminate most marks in less than 5 minutes. Lightly sanding by hand 10 to 15 strokes over the affected area will usually take care of most minor scratches or finish issues in a couple of minutes. Sanding smooths out scratches or removes any stain or mark. Use the rougher 100 grit paper first, then dust off and go over the area a second time with finer 220 grit paper to remove the sanding lines and leave the surface fine to the touch. Then dust off again and add a coat of the sealant with a rag over the sanded areas. Rub in for a few seconds and make sure to not let any streaks or drops form. Wait a couple hours and go over it again with a second coat of sealant. The newly sanded area may be lighter in tone. Once out in the weather for a few weeks, the color will even out.
CARPENTRY TRICK SERIES: Checks in the wood